
blue microphones yeti manual
Blue Yeti Microphone Manual: A Comprehensive Guide
Dive into mastering your audio! This guide unlocks the full potential of your Blue Yeti, covering setup, controls, software, and troubleshooting for pristine recordings.
Welcome to the world of high-quality USB recording! The Blue Yeti microphone is a versatile and popular choice for podcasters, streamers, musicians, and voiceover artists. Renowned for its exceptional sound quality and ease of use, the Yeti delivers studio-grade audio directly to your computer.
This microphone boasts multiple polar patterns, allowing it to adapt to various recording scenarios – from solo vocals to interviews and conference calls. Its intuitive controls provide immediate adjustments to gain, mute, and headphone volume. The Blue Yeti series, including models like the Yeti X and Yeti Nano, offers a range of options to suit different needs and budgets.
This comprehensive manual will guide you through every aspect of your Blue Yeti, ensuring you achieve professional-sounding results. Prepare to unlock its full potential and elevate your audio projects!
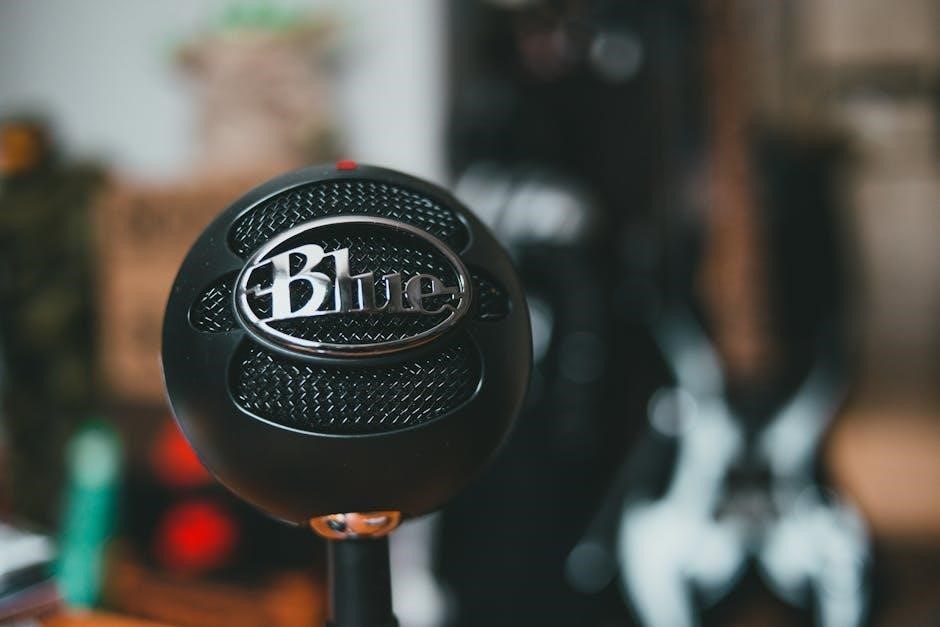
Unboxing and Package Contents
Let’s begin with what you should find inside the box! Your Blue Yeti package should include the Yeti microphone itself, a detachable USB cable (typically USB-A to USB-B), and a sturdy microphone stand. Some bundles may also contain a pop filter, designed to reduce plosive sounds like ‘p’ and ‘b’, and a shock mount to isolate the microphone from vibrations.
Carefully remove all components and inspect them for any signs of damage. The Yeti features a built-in headphone jack for direct monitoring, and the stand provides a stable base for positioning. Ensure the USB cable is securely connected to both the microphone and your computer.
Retain the original packaging for potential warranty claims or future transport. Familiarize yourself with each component before proceeding to the setup phase. A quick inventory confirms you have everything needed for a seamless recording experience.
System Requirements and Compatibility
Ensuring seamless integration is key! The Blue Yeti is broadly compatible, but let’s confirm your system meets the requirements. Generally, you’ll need a computer running Windows 7 or later, or macOS 10.10 (Yosemite) or later. A USB 2.0 or USB 3.0 port is essential for connectivity – USB 3.0 is recommended for optimal performance.
The Yeti functions as a plug-and-play device on most modern operating systems, meaning no specific drivers are always needed. However, for certain advanced features or troubleshooting, downloading the latest Blue Sherpa software is advisable. Compatibility extends to popular recording software like Audacity, GarageBand, Adobe Audition, and Pro Tools.
While primarily designed for computers, the Yeti can sometimes be used with iOS devices via an appropriate adapter (sold separately). Always check for software updates to maintain compatibility and access the latest features.

Setting Up Your Blue Yeti
Begin your recording journey! Connect the Yeti via USB, install necessary drivers (if prompted), and position it correctly for clear, professional-quality audio capture.

Connecting the Microphone: USB Connection
Establishing a stable USB connection is the first step to unlocking the Blue Yeti’s recording capabilities. Locate the USB port on the bottom of your Yeti microphone; it’s designed for a standard USB-A connection. Using the included USB cable, firmly plug the USB-C end into the Yeti’s port.
Next, connect the USB-A end into an available USB port on your computer. It’s generally recommended to use a direct USB port on your computer rather than a USB hub, especially during recording, to ensure a consistent power supply and data transfer.
Once connected, your computer should automatically recognize the Blue Yeti. You may see a notification indicating that new hardware has been detected. The Yeti is designed to be plug-and-play, simplifying the initial setup process. Ensure the connection is secure for optimal performance and to avoid interruptions during recording sessions.
Installing Drivers (If Necessary)
Generally, the Blue Yeti operates seamlessly as a plug-and-play device, meaning no additional driver installation is typically required for most modern operating systems like Windows and macOS. However, in rare instances, particularly with older systems or after a major OS update, your computer might not automatically recognize the microphone.
If this occurs, visit the official Blue Microphones support website. There, you’ll find the latest drivers specifically designed for the Yeti series. Download the appropriate driver for your operating system and follow the on-screen instructions to complete the installation.
Restarting your computer after driver installation is often recommended to ensure the changes take effect. After the restart, your system should recognize the Blue Yeti, allowing you to select it as your audio input device within your recording software or system settings. Regularly checking for driver updates can maintain optimal performance.
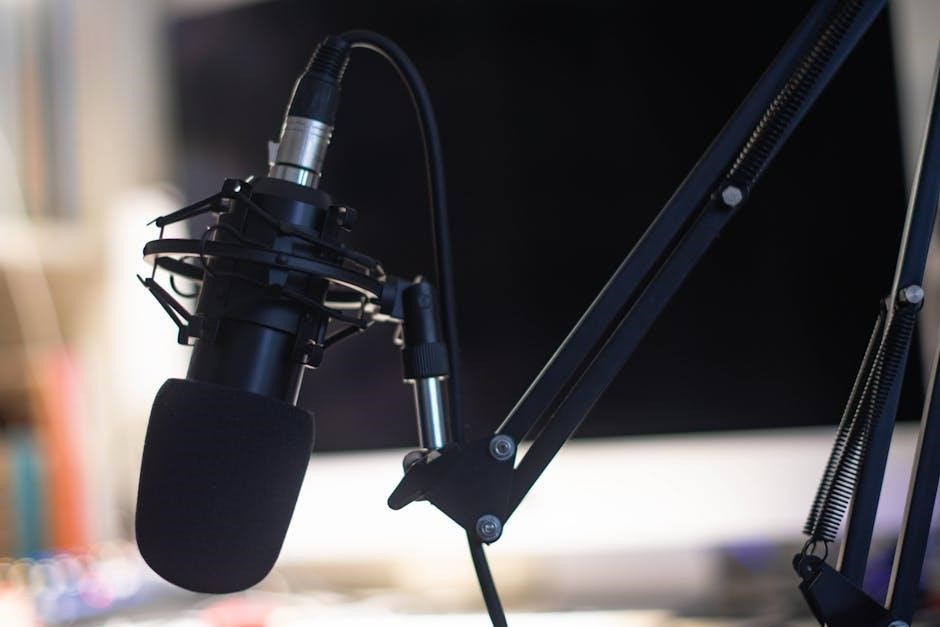
Positioning the Microphone for Optimal Recording
Achieving clear audio hinges on proper microphone placement. For most vocal recordings and instruments, position the Blue Yeti a few inches from your mouth or sound source – around 6-12 inches is a good starting point. Experiment to find the sweet spot that captures your voice or instrument with clarity and minimal room echo.
Consider using a pop filter to reduce plosives (harsh “p” and “b” sounds) and a shock mount to isolate the microphone from vibrations. Ensure the chosen polar pattern aligns with your recording scenario; cardioid is ideal for solo sources, while omnidirectional captures sound from all directions.
Avoid placing the microphone directly in front of hard, reflective surfaces, as these can cause unwanted reflections. A slightly angled position can also help minimize sibilance. Remember, subtle adjustments can significantly impact your recording quality!
Understanding the Yeti’s Controls
Explore intuitive features! Master gain, polar patterns, mute, and headphone volume for tailored sound control, unlocking the full potential of your Blue Yeti microphone.
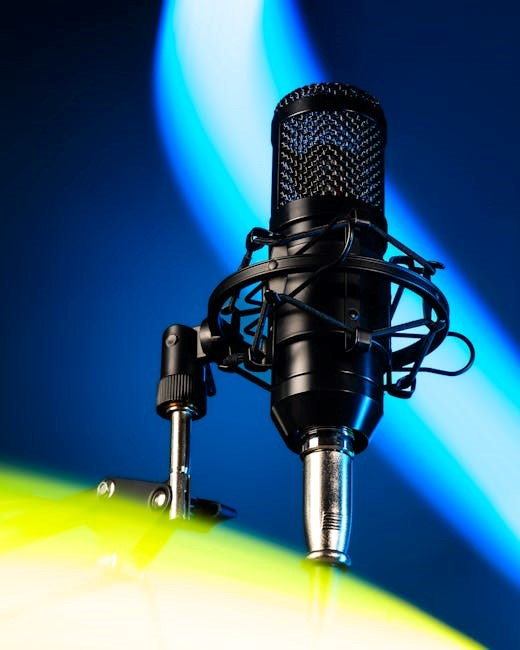
Polar Patterns: Cardioid, Stereo, Omnidirectional, Bidirectional
The Blue Yeti’s versatility stems from its selectable polar patterns. Cardioid mode captures sound primarily from the front, ideal for solo recording, podcasting, or streaming, rejecting background noise. Stereo provides a wider, natural soundstage, perfect for recording instruments or ambient sounds.
Omnidirectional picks up sound equally from all directions, suitable for capturing a group or room ambiance. Bidirectional (Figure-8) records from the front and back, great for interviews or duets.
Understanding these patterns is crucial for optimizing your recordings. Experiment to find the best pattern for your specific source and environment. The selected pattern directly impacts the microphone’s sensitivity and how it captures audio, influencing the final recording quality. Proper pattern selection minimizes unwanted noise and maximizes clarity.
Gain Control: Adjusting Input Sensitivity
The Gain control on your Blue Yeti adjusts the microphone’s input sensitivity. Increasing gain amplifies quiet sounds, while decreasing it reduces loud sounds. Finding the optimal gain level is vital for achieving a clean, clear recording without distortion. Start with a lower gain setting and gradually increase it while monitoring the input level.
Watch for the level meter in the Sherpa software (or your recording application) to ensure the signal isn’t “clipping” – indicated by the meter hitting the maximum level; Clipping results in distorted audio. Aim for a strong signal that peaks just below the maximum.
Proper gain staging prevents noise and ensures a professional-sounding recording. Adjust gain before recording, not during, for consistent results.
Mute Button and Indicator Light
The Blue Yeti features a convenient Mute button located on the microphone itself. Pressing this button instantly silences the microphone, providing a quick way to pause recording or avoid unwanted audio capture. When muted, the indicator light on the Yeti will illuminate red, providing a clear visual confirmation that the microphone is not transmitting any sound.
This is particularly useful during live streams, online meetings, or any situation where you need to temporarily stop audio input without interrupting your workflow. Simply press the button again to re-enable the microphone; the indicator light will return to its default state, signifying active operation.
Always double-check the indicator light to confirm mute status before speaking!
Headphone Volume Control
Located on the base of the Blue Yeti microphone is a dedicated headphone volume control dial. This allows you to adjust the loudness of the audio being monitored through your connected headphones, ensuring a comfortable and clear listening experience during recording or playback.
Rotating the dial clockwise increases the headphone volume, while rotating it counter-clockwise decreases it. This control is independent of your computer’s system volume, providing precise adjustment specifically for your monitoring needs. Proper headphone volume is crucial for accurately assessing your recording levels and identifying any potential audio issues.
Finding the right balance prevents distortion and ensures optimal monitoring during sessions.

Advanced Features and Settings
Explore deeper customization! Discover the Yeti X’s LED metering, Sherpa software’s power, and ensure peak performance with essential firmware updates and application.
Yeti X Specific Features: LED Metering & Customization
The Blue Yeti X elevates the user experience with integrated, customizable LED metering. These vibrant lights visually represent your audio levels, providing real-time feedback during recording sessions. This feature eliminates the need to constantly monitor software meters, allowing you to focus on your performance.
The LED colors are fully customizable through the Blue Sherpa software, enabling you to personalize the microphone’s appearance to match your setup or mood. Beyond aesthetics, the LED metering serves a practical purpose – preventing clipping and ensuring optimal audio quality. Different colors can be assigned to indicate various audio levels, providing a clear visual warning when adjustments are needed.
Furthermore, the Yeti X allows for detailed control over the metering behavior, including brightness and responsiveness. This level of customization ensures that the LED indicators are both visually appealing and functionally effective, making the Yeti X a truly personalized recording solution.
Using the Blue Sherpa Software

Blue Sherpa software is a powerful companion to your Yeti microphone, unlocking advanced customization and control. This intuitive application allows you to fine-tune your audio settings, personalize the microphone’s behavior, and manage firmware updates. Installation is straightforward, typically initiated automatically upon connecting your Yeti to a computer.
Within Sherpa, you can adjust gain, monitor audio levels, and select from various polar patterns. For Yeti X users, Sherpa provides extensive LED customization options. The software also facilitates creating and saving custom presets tailored to specific recording scenarios – podcasting, streaming, music, and more.
Beyond settings adjustments, Blue Sherpa serves as a central hub for accessing support resources and troubleshooting guides. Regularly checking for software updates ensures you have the latest features and bug fixes, maximizing your Yeti’s performance and longevity. It’s a vital tool for any serious Yeti user.
Firmware Updates and How to Apply Them
Keeping your Blue Yeti’s firmware up-to-date is crucial for optimal performance, stability, and access to new features. Blue regularly releases firmware updates to address bugs, improve compatibility, and enhance the overall user experience. The Blue Sherpa software is the primary method for applying these updates.
To check for updates, launch Blue Sherpa and connect your Yeti. The software will automatically scan for available firmware versions. If an update is found, follow the on-screen prompts to begin the installation process. Important: Do not disconnect the microphone during the update!
The update process typically takes a few minutes. Once completed, Sherpa will confirm the successful installation; Firmware updates are generally recommended whenever they are released, ensuring your Yeti functions at its best. Regularly checking for updates through Sherpa is a simple yet effective way to maintain peak performance.
Troubleshooting Common Issues
Resolve audio problems quickly! This section provides solutions for no sound, distorted audio, echo, and microphone recognition issues with your Blue Yeti.
No Sound/Microphone Not Recognized
Experiencing silence? If your Blue Yeti isn’t producing sound or isn’t recognized by your computer, begin with the basics. Ensure the USB cable is securely connected to both the microphone and a functioning USB port on your computer. Try a different USB port – sometimes, certain ports offer insufficient power or have connectivity issues.
Next, verify that the Yeti is selected as the default input device within your computer’s sound settings. On Windows, access Sound Settings; on macOS, navigate to System Preferences > Sound > Input. Confirm the Yeti appears in the list and is actively chosen.
If still unresolved, check the Yeti’s mute button – a lit indicator signifies it’s muted. Also, restart your computer and the Blue Sherpa software (if installed). A driver reinstall might be necessary, though often not required. Finally, test the microphone on another computer to isolate whether the issue lies with the Yeti itself or your primary system.
Distorted Audio/Clipping
Hearing crackling or a harsh, broken sound? Distorted audio, often called clipping, indicates the input signal is too strong for the microphone to handle. The primary solution is to lower the Gain Control on your Blue Yeti. Reduce the gain incrementally until the distortion disappears, monitoring the audio levels in your recording software.
Avoid positioning the microphone too close to the sound source. Increasing the distance can significantly reduce the input volume. Also, check your recording software’s input level settings; ensure they aren’t also amplified.
The Yeti X features LED metering – observe these lights while speaking. If they consistently illuminate red, the signal is clipping. Adjust the gain accordingly. Experiment with different polar patterns, as some are more sensitive than others. Finally, ensure your audio interface (if used) isn’t contributing to the distortion.
Echo or Feedback
Experiencing unwanted repetitions of sound? Echo or feedback typically arises when the microphone picks up audio from your speakers, creating a loop. The simplest fix is to lower the Headphone Volume Control on the Yeti. This reduces the sound reaching the microphone from your headphones.
Ensure your speakers are positioned away from the microphone – ideally behind it, or in a separate room. Using closed-back headphones instead of open-back ones minimizes sound leakage. Experiment with different Polar Patterns; the Cardioid pattern is best for isolating the sound source and reducing background pickup.
In your recording software, mute the input being recorded while monitoring through speakers. If the echo disappears, the issue is likely a feedback loop. Adjust room acoustics with soft materials to absorb sound reflections.